
What if you could enable non-experts to run your multiphysics simulations on their own? You would save time, for sure, and they would get easy access to your expertise. Turning your simulations into apps with customized and easy-to-use interfaces is now a reality. Here, I will explain why you should start creating apps and how to go about it. We’ll use the new Corrugated Circular Horn Antenna Simulator demo app to guide us.
No More Making Repetitive Parameter Tweaks for Your Colleagues
Your designs and processes are affected by many physics, either wanted or unwanted, so you cannot design technologies as if they existed in a world of perfect conditions. Simulation is a powerful tool for studying multiple physics in your designs to learn how they impact the overall performance of the end-product. As a simulation engineer, you can then optimize the designs before moving into physical prototyping or production.
I suspect, however, that more often than not, your simulation process is not as simple as set up, solve, visualize, and move on to the next project. If you created the simulations for someone else — an antenna designer or someone else in the manufacturing process, maybe — chances are they will be back for more. Their subsequent requests are probably not major changes, either. Perhaps they are simple but repeated updates to the same parameters. “Please re-run the simulation but for a smaller waveguide radius,” he says. Or: “What if the flare angle was a couple of degrees wider?”
How many times are you willing to make the same menial simulation updates for your fellow antenna designer? Wouldn’t you rather enable him to make those changes himself? It’s time to join the simulation revolution.
As technologies continue to advance, the study of multiphysics elements has grown in importance, with tools becoming more complex in order to handle intricate analyses. With the COMSOL Multiphysics® software Application Builder, simulation capabilities are no longer limited to trained engineers. By creating apps with the Application Builder, your simulations can be used by non-experts and you can avoid re-running your simulations for various design iterations.
I will show you how to create a simulation app, but first, let’s take a closer look at the building blocks of a COMSOL® software simulation app.
What Are Simulation Apps?
Applications are easy-to-use simulations that are generated from other simulations or models. When creating apps, you can allow access only to the parameters that are important to the design or manufacture of the system or process, and add appropriate input and output fields to change and manipulate these parameters.
Within the resulting app user interface (UI), there are several components that we refer to as form objects. We can customize the UI by including and editing these form objects through the Form Editor, while optimizing their usability by using the Method Editor. The Method Editor offers a programming environment that supports Java® API, helping to further simulation capabilities and provide a more integrated approach to the workflow. If we use a cooking analogy, the form objects added through the Form Editor would be the main ingredients in your recipe and the Method Editor would serve as the spices, increasing the flavor of the dish and garnishing it.
Once you have created a customized (and intuitive) interface, you can distribute your apps to others involved in the design and manufacturing process. This enables both experts and non-experts to run simulations, modify parameters, and optimize designs to meet specific goals and specifications — all the while you are working on your next simulation project.
With the Application Builder, you can turn any simulation into a simulation app, making the possibilities truly endless. With the recent release of COMSOL Multiphysics version 5.1, we introduced 20 demo apps to help get you started on building and distributing your own apps. One of these demo apps, the Corrugated Circular Horn Antenna Simulator, provides a helpful overview of how to create an app.
Tip: You can also see more demo apps in action in this video introduction to the Application Builder.
From Model to App: A Corrugated Circular Horn Antenna Simulator
The Corrugated Circular Horn Antenna Simulator demo app is based on a tutorial from our Application Gallery, which we have previously blogged about. In this tutorial, simulation techniques are used to solve for the electromagnetic fields (expedited by exploiting the symmetry of the structure), visualize the 2D axisymmetric geometry in a 3D geometry form, and evaluate and display the results in a 3D domain.
For a non-expert, this simple example can look quite complex. You wouldn’t want to put this raw model in the hands of your antenna designer; the geometry can be broken and simulation settings such as boundary conditions and mesh can easily malfunction if unreasonable geometric design parameters are selected. Only you may know what the safe input parameter range is for performing the simulation seamlessly and generating valid results.
In order to avoid said problems, you can create an app that provides the following:
- Intuitive UI
- Easily accessible results visualization
- Quick overview of the simulation’s validity compared to the user-specified target criterion
- App documentation
- Simulation report that can be accessed with just one click of a button
We will show you what these components are and how to include them in your app via our Corrugated Horn Antenna demo.
Customizing the User Interface
As mentioned earlier, form objects enable you to customize the user interface of an app and enhance its usability. Here is a screenshot of the objects you can choose to include in the UI of your app:
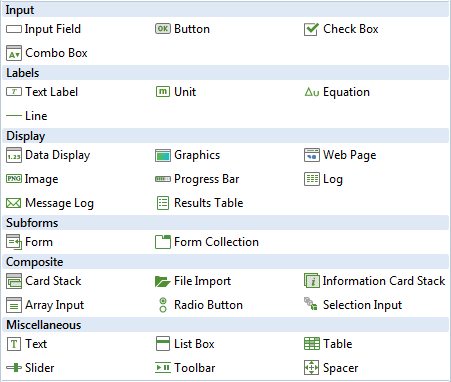
Form objects allow you to create apps with easy-to-use UIs.
You may be curious as to how these form objects were implemented in the app and how they work. Let’s take a quick look at the UI of the Corrugated Circular Horn Antenna Simulator demo app.
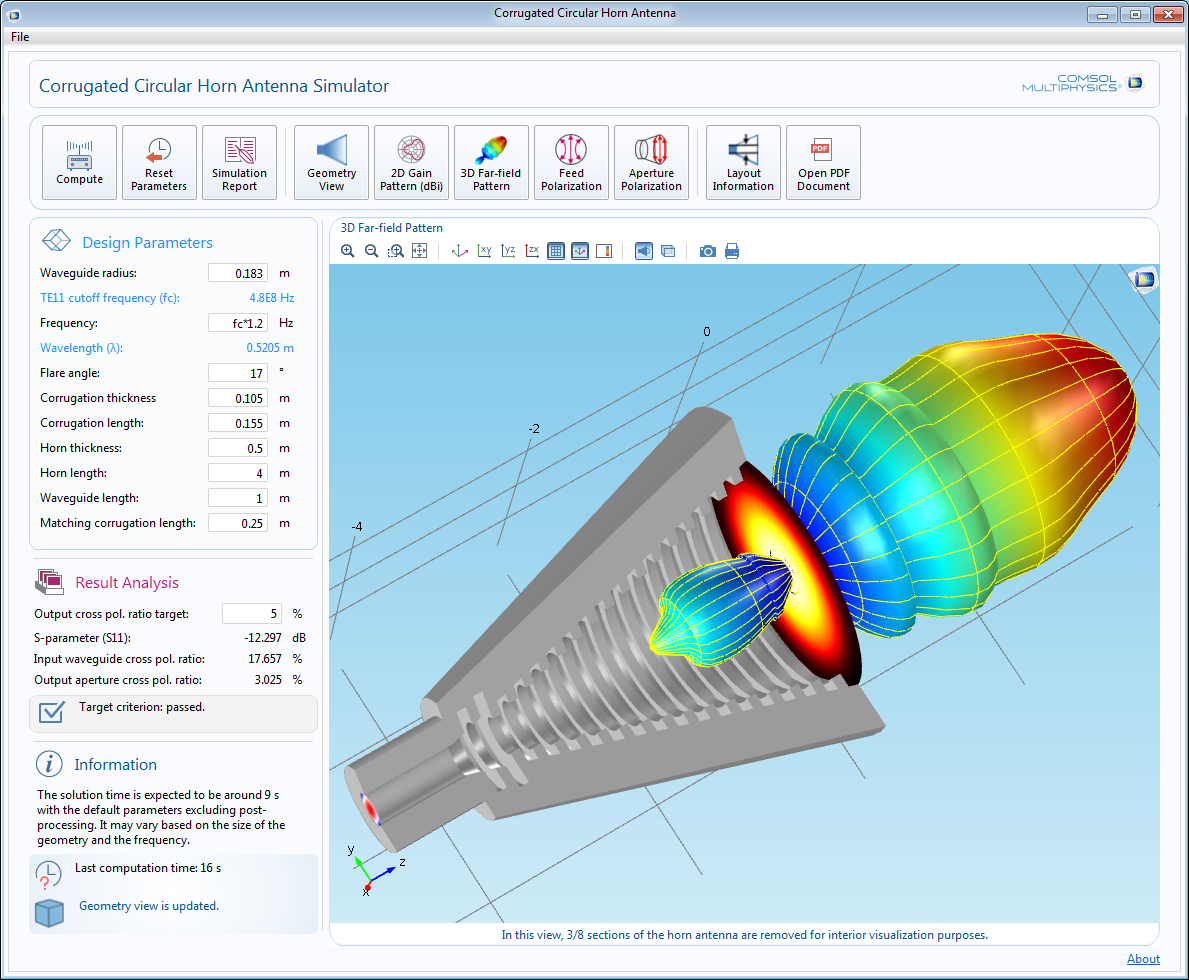
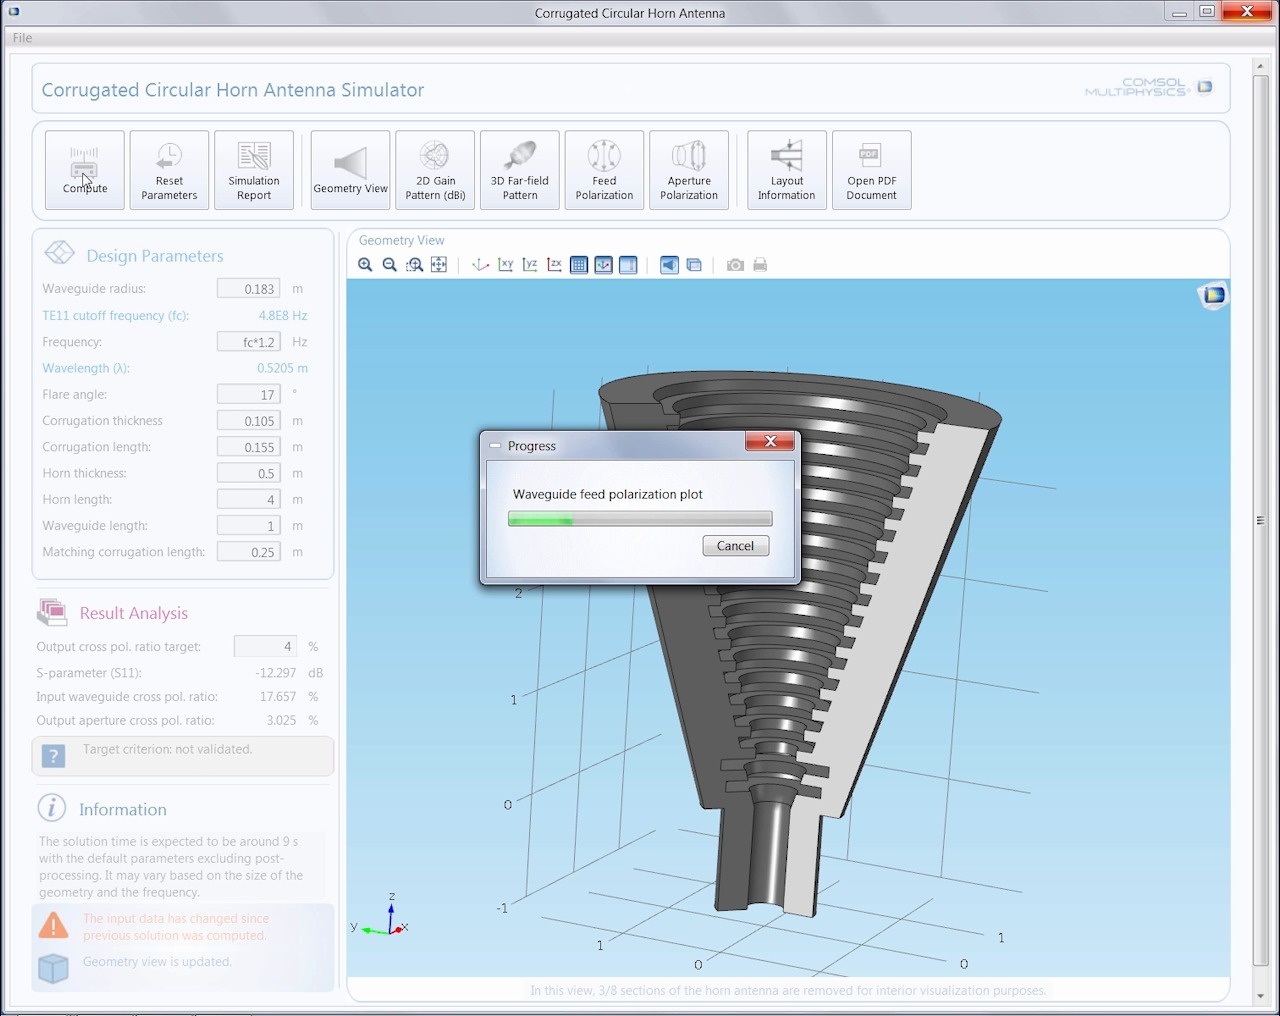
An app showing the far-field radiation of a corrugated circular horn antenna. The geometry parameters and operating frequencies can be changed to optimize the antenna’s performance.
The user interface for the application is composed of sections for the design parameters, analysis of the results, and information about the app. Furthermore, it includes a command section featuring 10 buttons as well as a graphics window. The command section at the top of the UI is comprised of many buttons implemented in a subform. The button object provides one-click action control and it initially looks like this:
![]()
To finalize the command section design as shown in the UI, the following steps are included:
- Implementing the button on a form
- Specifying the button’s name and size (large) and the image imposed on it
- Adding the background image of the form
- Adding the corresponding method for action

The command section was built with form and button objects.
The design parameters section includes the following objects: Image, Text Labels, Input Fields, Units, Data Displays, and Spacer. Using this component, the app collects the input parameters for the geometry and the accessible input conditions for the simulation. The All Input Field object is implemented with the Events feature to update the current status of the app when any change is made to the input parameters after a geometry view update or simulation.
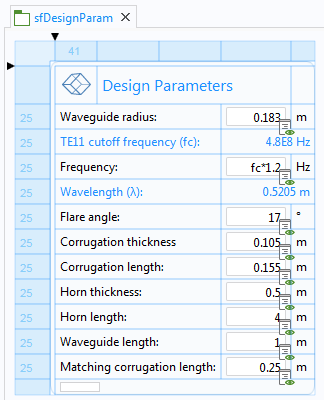
The design parameter form is added as an input console.
In the result analysis and information sections, a notable form object is the Information Card Stack, which is added through a subform. The Information Card Stack provides conditional texts with icons based on the selected source variable state. Either one of the “cards” in the “stack” will be visible according to the state of the simulation. The suggested default state includes three cases:
- There is no solution
- The input data has changed from the previous simulation
- The last computation time
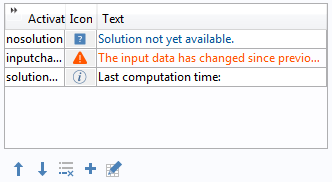
The default state of the Information Card Stack.
In this app, there are three information card stacks in the UI. According to the selected source variable state of the app, each stack notifies users of the following, respectively:
- Solution availability, any change in the user input parameters, and the last computation time
- Geometry view status
- Result pass/fail analysis compared to the simulation target criterion specified by the user
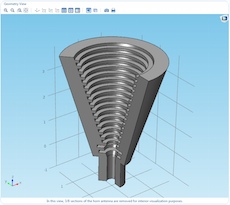
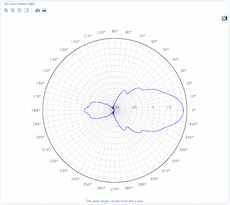
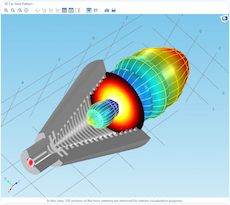
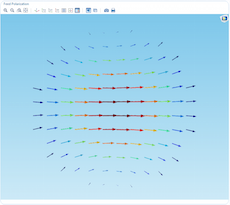
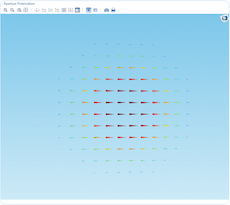
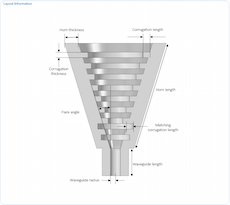
The graphics window is comprised of form objects called Graphics. The Graphics object enables the visualization of the antenna’s geometry, a variety of 2D and 3D results, and the layout information. In order to visualize several different views on the same location as tabs, each Graphics object is added via a Card Stack form object. According to the selected source variable of the card stack, the current Graphics object will be chosen.
Some of the form objects are not shown in the app’s initial launch, but they can be viewed at a later point when further using the app. Upon clicking the Compute button, a pop-up dialog window and a progress bar reports the solution status. When clicking the Simulation Report button, you will see a pop-up dialog window decorated with a radio button asking which format you’d like the report to be generated in.
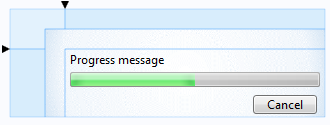
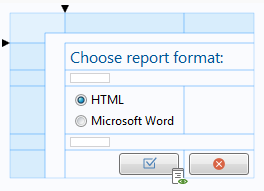
Progress bar and radio button implemented in a form.
There are other useful form objects not used in this app, including the Check Box and Slider form objects. The Check Box object can be used to toggle a certain visualization condition to be on or off; for example, you may want to remove the field plot on the antenna aperture. The Slider object can change the color range of the visualization or it can be linked to one of the input parameters to easily update the value without having to type in numbers.
When customizing the UI, there are numerous ways to enhance it, with no limit to your imagination. The design is entirely up to you!
Slider and Check Box form objects provide more functionality in the UI.
How to Create the Corrugated Circular Horn Antenna Simulator App
You are now familiar with the innovative widgets we call form objects, resources that enable the customization of your UI. There are, however, other tools integrated in the Application Builder that also enable you to customize your UI: the Form Editor and the Method Editor. As I mentioned above, these editors allow you to develop specific simulation tools that can be shared with people throughout your company and across the design and development process.
Let’s take a look at the workflow behind creating the Corrugated Circular Horn Antenna Simulator demo app, which is based on this pre-existing tutorial model. To employ another analogy, the model acts as a seed that will grow into a dynamic app with the help of the Form Editor and the Method Editor. The original model’s geometry has been completely parameterized (i.e., parameters based on the coordinates represent the geometric measurements rather than integers) such that changes to the geometric inputs in the app will result in a consistent geometry even after these changes take place. Furthermore, the result plots have also been added to and reconfigured from the original model to include more information in the app.
First, to begin the process of turning a model into an app, click on the Application Builder button, which can be accessed through the Home tab of the ribbon.

The Application Builder button on the Home tab will lead you to the Application Builder.
The first screen within the Application Builder appears like the figure below:
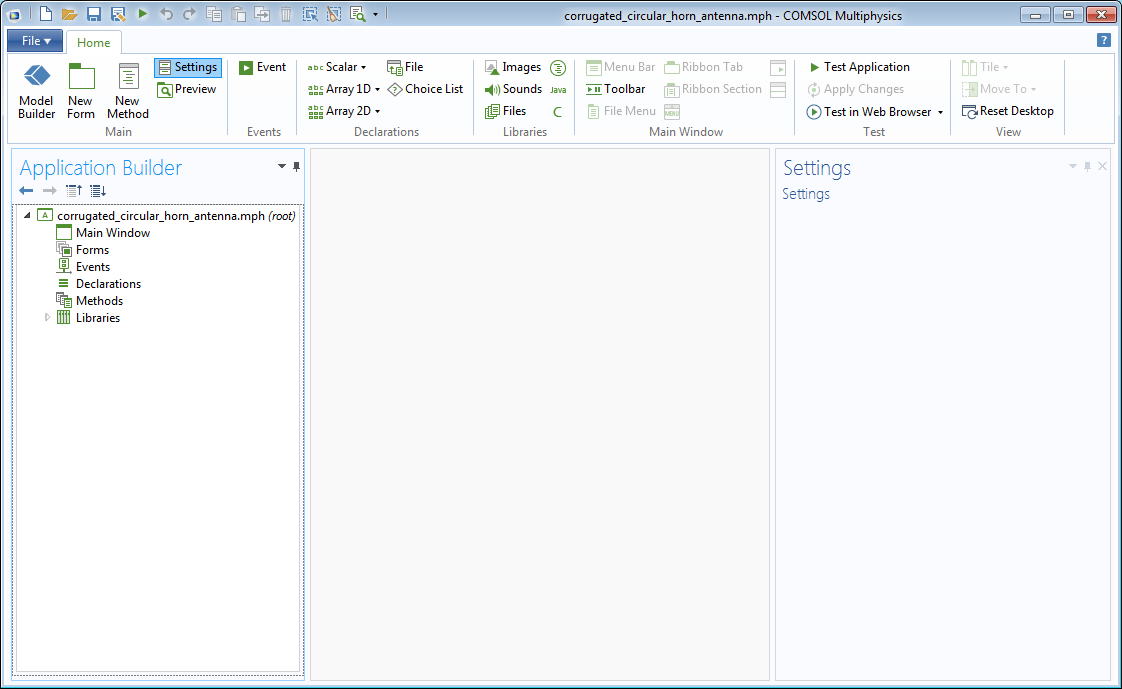
The Application Builder window when you start to build an app.
The New Form button in the ribbon is a very useful tool for building a basic layout of the app and creating any app with only a few clicks of your mouse.
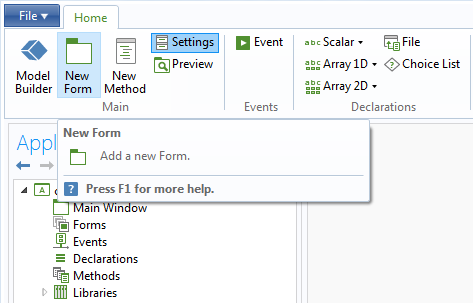
The New Form button simplifies the process of making an app.
When you click on the New Form button, a window opens with a wizard that takes you through the steps of creating an app.
You can add:
- User input fields with text labels inherited from the parameter descriptions
- A graphics window for geometry view and results analysis
- Buttons for actions such as running the simulation, plotting the results, and executing commands customized by the Method Editor
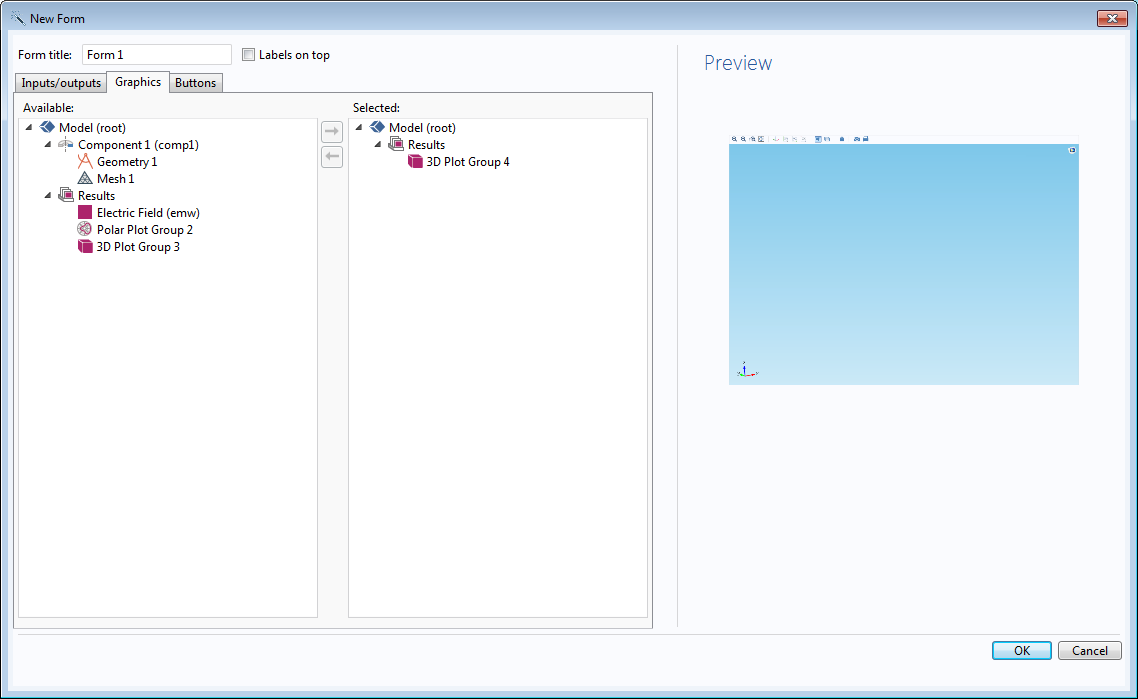
The Form wizard will let you build an app very easily.
After adding several form objects, our finalized main form looks like this:
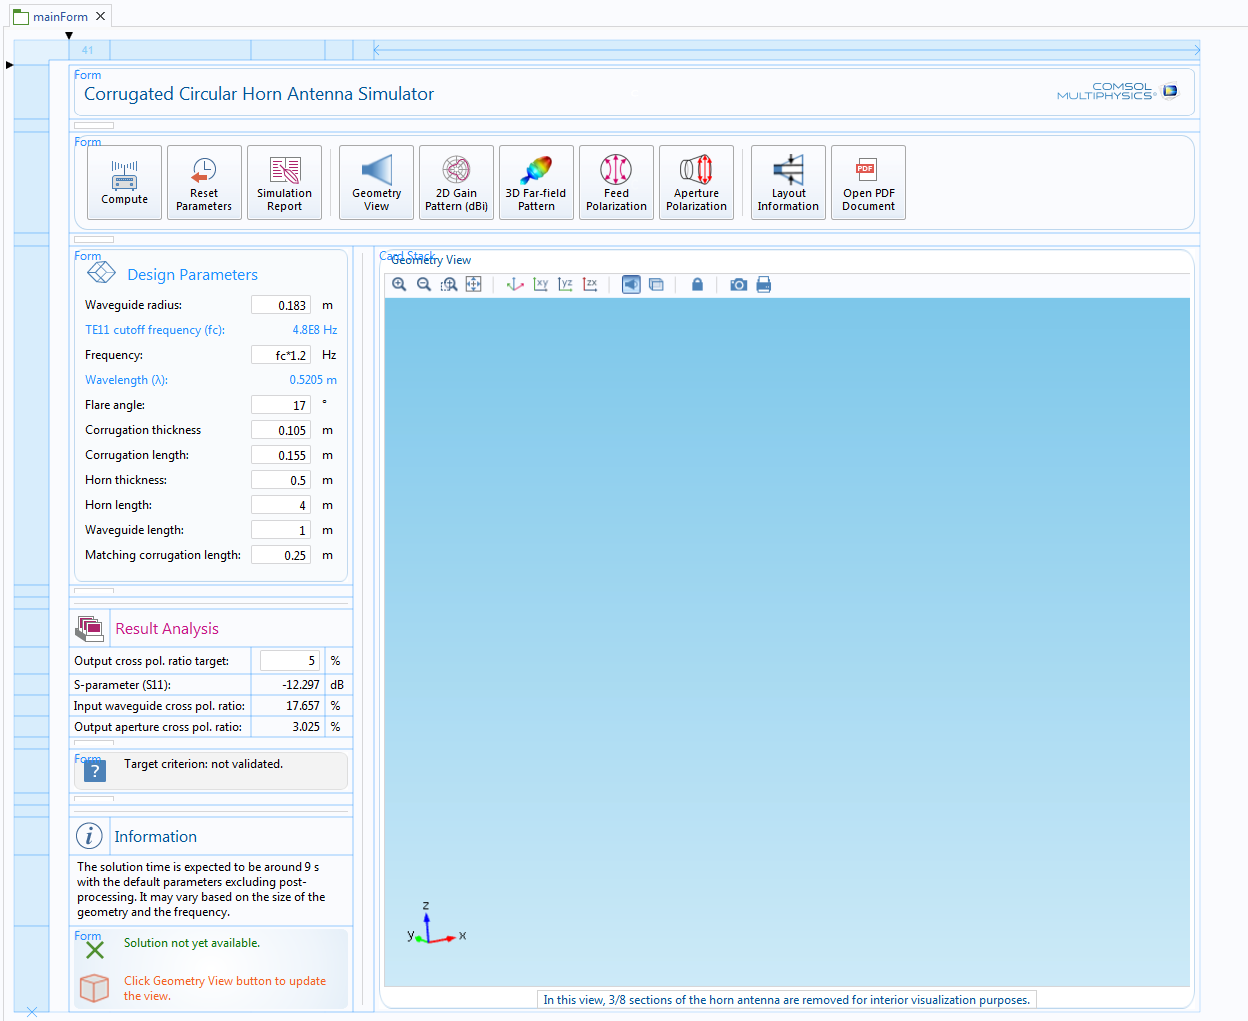
The finalized main form of the app consists of forms, card stacks, text labels, input fields, units, images, etc.
Is the app ready? Not quite yet. We still have to discuss the methods implemented in the app. Since there are several methods, we will focus on only one at this time. The Button form object is a widget that can add commands. These commands are either predefined and suggested by the Application Builder or can be fully customized using the Method Editor.
Here, the Compute button has a customized method to run the simulation.

The Button form object with an embedded method and an icon.
Note the small icon at the bottom-right corner in the above image. This indicates that the form object has an embedded method. The method on this button will be executed when it is clicked and can be added from the Choose Commands to Run section of the settings window.
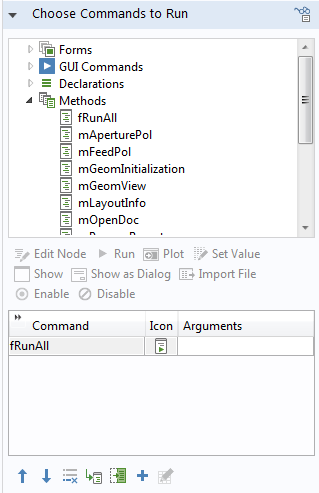
With the Choose Commands to Run section, predefined commands or user-defined methods can be added.
The method was created before it was embedded in the button. You can create a new method by clicking the New Method button in the ribbon.
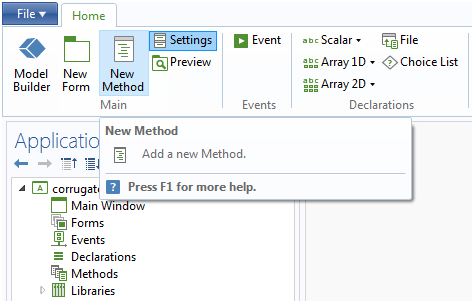
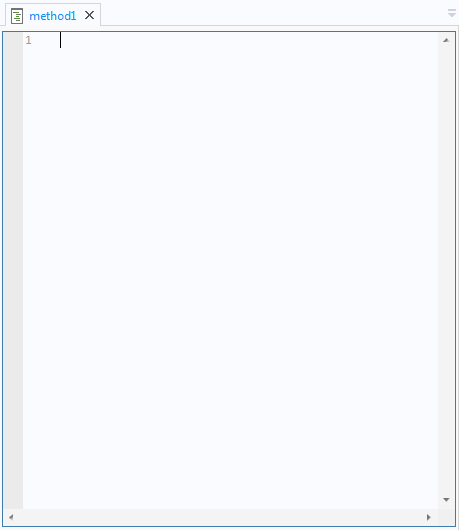
The New Method button will add an empty method.
If you are familiar with Java® API, you should feel comfortable using this tool. For those less familiar with the program, that’s no problem. There is a helpful tool in the ribbon, called Record Code, which will record the actions you take in the Model Builder and then present these actions as the code they represent in the Method Editor.
Furthermore, there are many demo apps that show how to write and apply methods. Another valuable resource for learning more about these editors and the design and development of apps is the Introduction to Application Builder documentation (PDF).
The method embedded on the Compute button that is labeled fRunAll will perform the following actions:
- Open the progress window
- Update the geometry view
- Run the simulation
- Update all results plots
- Update text labels
- Calculate the cross-polarization ratio
- Update the state of all Information Card Stacks
- Close the progress window
We complete the app with more combinations of forms and methods until it works as an antenna simulation tool package that guides users to follow the appropriate input parameter range. The app provides the cut-off frequency and wavelength and allows users to reset the input parameters to the default values, visualize the 2D axisymmetric geometry as a 3D model, and plot the 2D antenna gain pattern and the 3D far-field radiation pattern. It also displays the electric field polarization to allow for analyzing the cross-polarization ratio on the input waveguide feed and the output antenna aperture. Furthermore, the app shows the antenna layout so that users can identify input parameters. When the app has finished running, it generates a simulation report. If app users want to learn more, they can open the embedded application documentation. It is even possible to email this report to your colleagues from the app by adding an extra method.
The original app designer and non-antenna simulation expert alike can easily tune the antenna geometry parameters to meet the specification without getting too involved in the simulation settings and underlying physics.
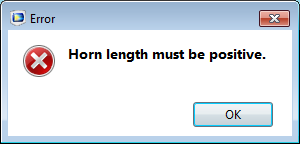
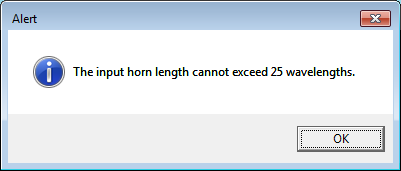
The app is designed to prevent users from entering input values that are out of range.
Various features provided by one-click actions in the UI.
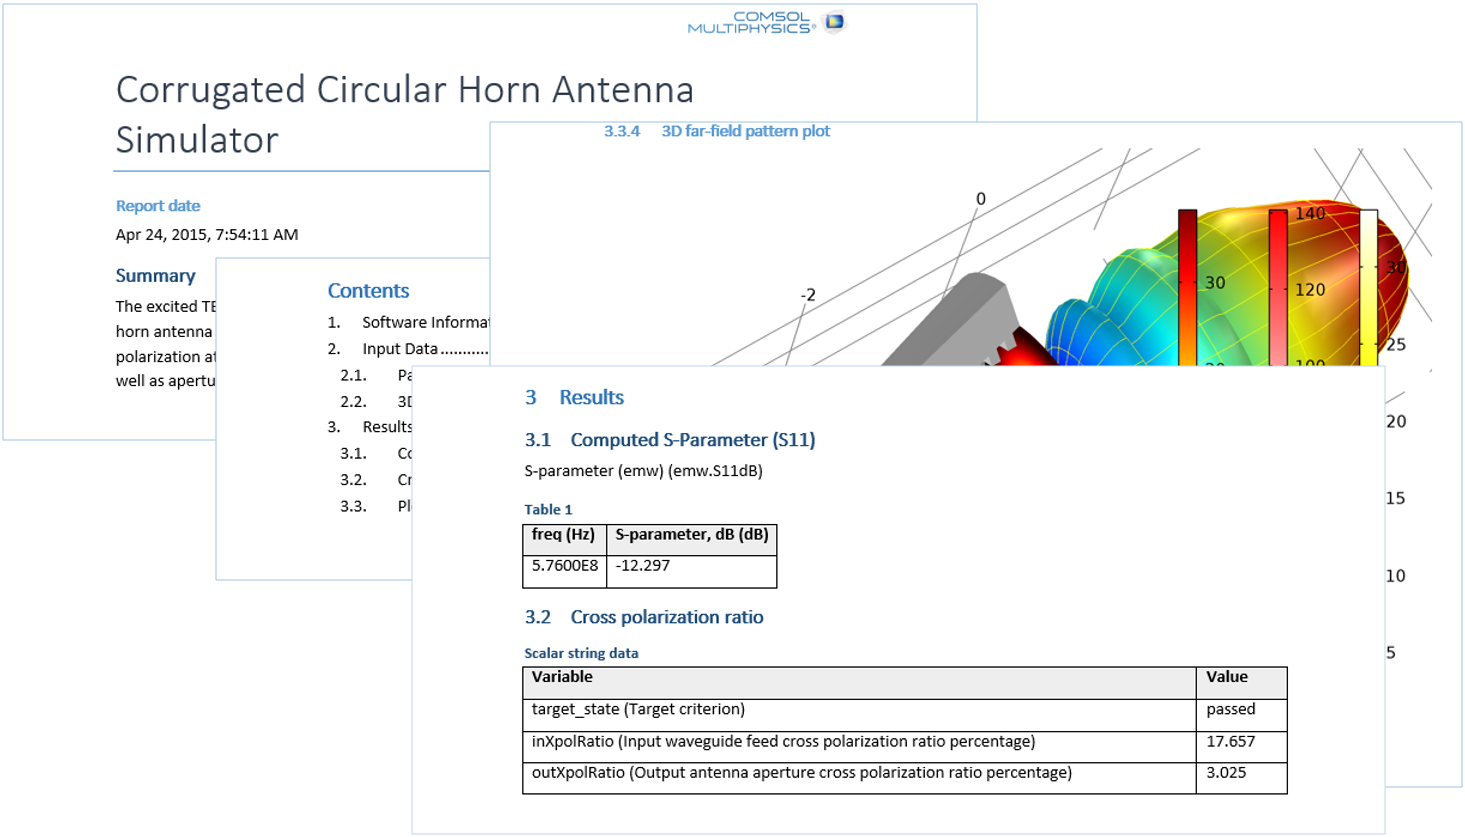
The customized report will help to summarize the simulation results.
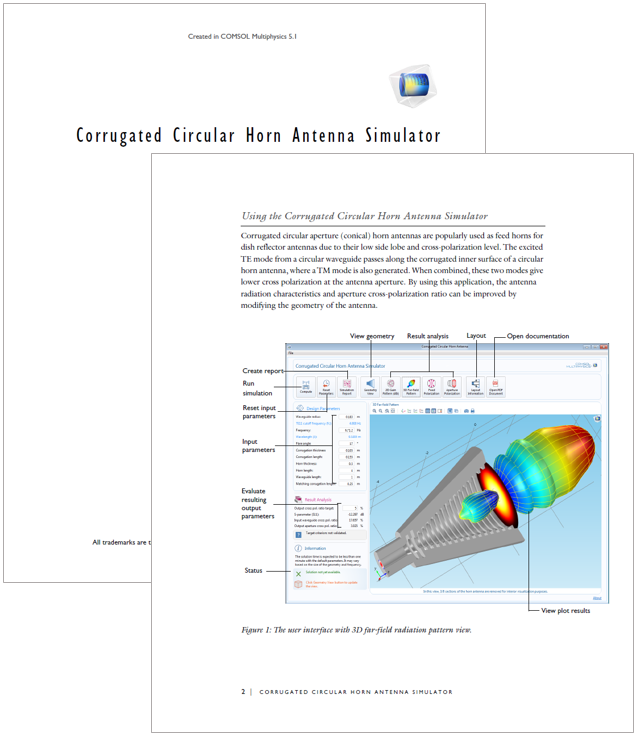
Easy access to the application documentation.
Summary of How to Create a Simulation App
Let’s conclude this blog post by summarizing how to create an app.
The basic workflow involved in creating an app is as follows:
- Create a model
- Add forms
- Add form objects
- Add methods, as necessary
Though it may appear complicated the first time you open the Corrugated Circular Horn Antenna Simulator demo app, it is in reality just a combination of forms and methods. By designing a more intuitive UI, you can build better apps with greater potential in advancing the power and scope of your simulations. If you’ve already designed an interesting model, why not start building your own app today?
Next Steps
- Download the demo app: Corrugated Circular Horn Antenna Simulator
- Watch a video: Introducing the Application Builder in COMSOL Multiphysics
- Learn more about the Application Builder and the other demo apps that were released with COMSOL Multiphysics version 5.1
Oracle and Java are registered trademarks of Oracle and/or its affiliates.



Comments (0)